No edit summary Tag: Visual edit |
No edit summary |
||
| (13 intermediate revisions by 4 users not shown) | |||
| Line 1: | Line 1: | ||
| + | {{Characters |
||
| − | [[File:Toadkiller Dog.jpg|thumb|303x303px|Toadkiller Dog]] |
||
| + | |image1 = Toadkiller Dog.jpg |
||
| ⚫ | '''Toadkiller Dog''' appeared to be a big white dog with red eyes and taste for beer. It was often seen with his partner, a muscular man known as [[Tracker |
||
| + | |origin = Demon realms |
||
| + | |status = Deceased |
||
| + | |race = [[Demon]] |
||
| + | |sex = Male |
||
| + | |allegiances = |
||
| + | *The [[Dominator]] |
||
| + | *The [[Limper]] |
||
| + | |appeared_in = |
||
| + | *''[[The White Rose]]'' |
||
| + | *''[[The Silver Spike]]'' |
||
| + | }} |
||
| ⚫ | '''Toadkiller Dog''' appeared to be a big white dog with red eyes and taste for beer. It was often seen with his partner, a muscular man known as [[Tracker]]. In reality, he was a powerful demon loyal to the [[Dominator]], and in search of a method to resurrect his master from his prison, the [[Barrowland]]. His power and durability were immense, and he was even capable fighting a number of the [[new Taken]]. |
||
== ''The White Rose'' == |
== ''The White Rose'' == |
||
The Black Company met it during their stay in the [[Plain of Fear]]. The dog and [[Tracker]] were sent to deliver a message for [[Croaker]]. The two spent some time with the Company and joined their military operation in the city of [[Rust]]. During the retreat from the city Toadkiller Dog was left behind. Tracker became irrationally upset after losing his friend. Fortunately for him the dog managed to return to the Plain of Fear by itself and was found by Croaker. |
The Black Company met it during their stay in the [[Plain of Fear]]. The dog and [[Tracker]] were sent to deliver a message for [[Croaker]]. The two spent some time with the Company and joined their military operation in the city of [[Rust]]. During the retreat from the city Toadkiller Dog was left behind. Tracker became irrationally upset after losing his friend. Fortunately for him the dog managed to return to the Plain of Fear by itself and was found by Croaker. |
||
| − | Croaker also took the dog and its owner on their next mission, which was in the [[Barrowland]]. |
+ | Croaker also took the dog and its owner on their next mission, which was in the [[Barrowland]]. They were arrested there and had to break out of prison. During their escape through the [[Great Forest]], Toadkiller Dog intercepted the chasing soldiers and killed over a hundred of them in the fight. During the retreat the dog clashed with a number of the [[new Taken]], and successfully fought them off, as well as injuring [[Whisper]]. |
| − | Later Toadkiller and Tracker |
+ | Later, Toadkiller and Tracker returned to the Plain of Fear once again. There, the dog attacked the [[Lady]], who was defenseless, but [[Father Tree]] intervened. Toadkiller Dog's true nature was revealed: it was a [[demon]] in service of the [[Dominator]]. Afterwards the demon returned to his master in the Barrowland, in order to guard him against enemies. In the [[Battle of the Barrowland]], Toadkiller Dog fought ferociously for his master. He mustered a large force of tribesmen from the Great Forest and led them into a surprise melee against the [[Eternal Guard]]. During the combat, he lost one of his legs to the sorcery of the new Taken and was forced to retreat. |
== ''The Silver Spike'' == |
== ''The Silver Spike'' == |
||
| − | [[File: |
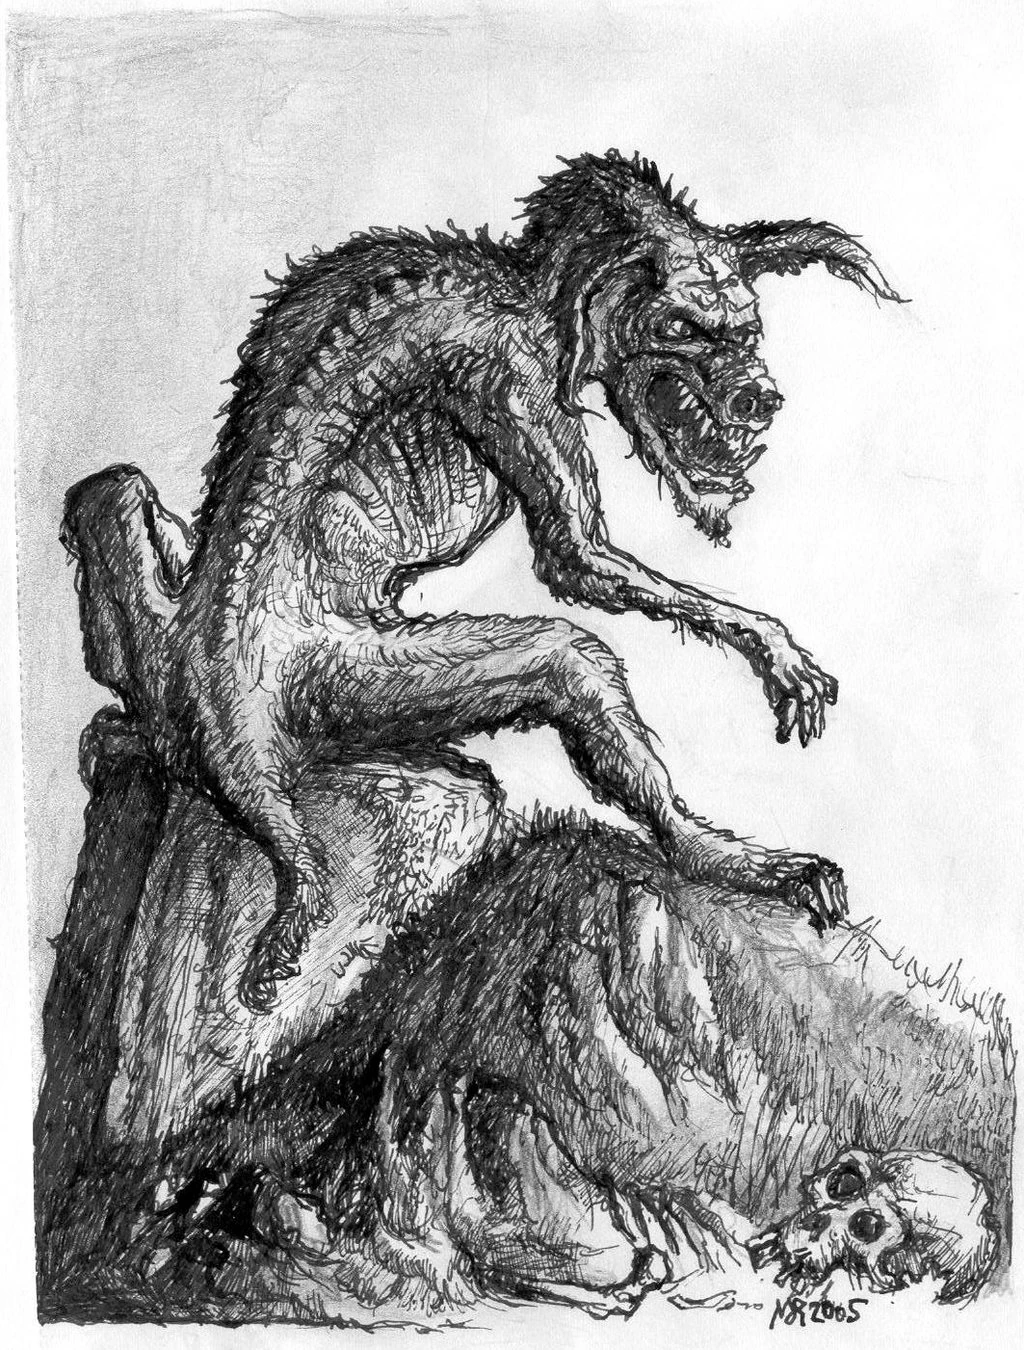
+ | [[File:Toadkiller Dog by Matushyzny.jpg|thumb|290x290px|Toadkiller Dog by Matushyzny.]] |
| + | === The Limper's enforcer === |
||
| ⚫ | Toadkiller Dog returned to the former battlefield and spent many nights digging for something, which turned out to be a severed head. Witnessing this, the [[spike thieves]] delayed their attempt to steal the [[silver spike]] until it had left. Toadkiller Dog forced the forest shamans of nearby tribes to create an artificial body for the head. The head on the "amalgam" was actually the [[Limper]], who was intent on seeking revenge against [[Lady]] and [[Croaker]] for his decapitation in the battle. He and the dog lead a small army, which at first consisted of 50 tribesmen, and they sacked what remained of the town in the Barrowland. They sacked all the cities on their way southward, with Toadkiller Dog frequently devouring deserters. Imperial soldiers also joined, fearing the demon's retribution if they refused. They besieged the [[Tower at Charm]] with 5,000 soldiers, but were unable to capture it. They pillaged [[Opal]], crossed the [[Sea of Torments]] to attack [[Beryl]], and rampaged south. Along they way, somewhere outside the boundary of the Empire, they captured a dormant [[fire-eater]]. |
||
| + | They were defeated by [[Darling]]'s army of [[Plain of Fear]] monsters at the [[Temple of Travellers' Repose]]. Still having a use for the Limper, the demon hound traveled east to the country of [[Sweeps]].<ref>''[[The Silver Spike]]'', chapter 44</ref> There, he created an alliance with family of wizards called the [[Nacred]]. Upholding his side of the deal, he massacred every single member of the [[Shaded]] family, the Nacred's rivals. In return, the twelve leaders of the Nacred traveled with him to the Temple, where they crafted a gorgeous new clay body for the Limper's horrid head. However, once being fully reconstructed, the Limper betrayed Toadkiller Dog and the twelve sorcerers by trapping them all in the Temple's subterranean chamber and running northward, to claim the [[silver spike]] for himself. |
||
| ⚫ | Toadkiller Dog returned to the battlefield and spent many nights digging for something, which turned out to be a severed head. Witnessing this, the [[spike thieves]] delayed their attempt to steal the [[silver spike]] until it had left. Toadkiller Dog forced the forest shamans of nearby tribes to create an artificial body for the head. The head on the " |
||
| + | === Return north === |
||
| − | Finally they were defeated by [[Darling]]'s army of [[Plain of Fear]] monsters at the [[Temple of Travellers' Repose]], which put an end to the alliance between Toadkiller Dog and the Limper. The demon returned north to chase the Limper. In the city of [[Oar]] the dog was killed while trying to take down the mad sorcerer. |
||
| + | After forcing the survivors to dig a way out and feeding on those too weak to work, the monster alone escaped the ruins. The demon returned north to chase the Limper fueled by vengeance. Outside [[Beryl]], which had been evacuated by the Empire, he saw a black rider throw a fiery spear eastward. He soon caught the Limper's trail, and began to follow him across the long easterly land route, passing through a wide variety of mostly desolate terrain, including, in order: swimming the [[River Bigotes]] and the [[Hyclades]]; traversing the [[Rani Poor]] desert and the lifeless landscapes of [[Barbara]], [[Laba Larada]], [[Khun]], the [[Canyons of the Undead]], and the ruins of the temple city of [[Marsha the Devastator]]; crossing the populated province of [[Karsus]], the [[Plain of Dano-Patha]], and the treacherous [[Mountains of Sinjian]]; and finally, through a dangerous crossing of the [[Straits of Angine]], and onward into the [[northern continent]]. At various points during this trek, Toadkiller Dog was encouraged and guided from a distance by Imperial riders with flaming spears. And, he found remnants of ingenious mechanical traps which had been laid for the Limper. |
||
| + | |||
| + | === Alliance with Charm and confrontation at Oar === |
||
| + | At the [[Tower at Charm]], the heirs of [[the Lady's Empire]] struck an alliance with Toadkiller Dog. He accompanied them as they rode out on lesser demon beasts toward [[Oar]], where the [[silver spike]] was known to be hidden. The ancient demon was killed alongside his new allies in a ferocious melee while trying to take down the Limper. His remains became intermingled with the Limper's clay body, and were boiled away in a huge cauldron over many days in the final, successful effort to kill the mad sorcerer. |
||
| + | |||
| + | == References == |
||
| + | <references /> |
||
[[Category:Characters]] |
[[Category:Characters]] |
||
| − | [[Category: |
+ | [[Category:All supernatural entities]] |
| − | [[Category: |
+ | [[Category:Demons (real)]] |
| − | [[Category: |
+ | [[Category:Allies of the Black Company]] |
| + | [[Category:New White Rose Rebellion]] |
||
| + | [[Category:Enemies of the Black Company]] |
||
Revision as of 20:10, 14 May 2020
Toadkiller Dog appeared to be a big white dog with red eyes and taste for beer. It was often seen with his partner, a muscular man known as Tracker. In reality, he was a powerful demon loyal to the Dominator, and in search of a method to resurrect his master from his prison, the Barrowland. His power and durability were immense, and he was even capable fighting a number of the new Taken.
The White Rose
The Black Company met it during their stay in the Plain of Fear. The dog and Tracker were sent to deliver a message for Croaker. The two spent some time with the Company and joined their military operation in the city of Rust. During the retreat from the city Toadkiller Dog was left behind. Tracker became irrationally upset after losing his friend. Fortunately for him the dog managed to return to the Plain of Fear by itself and was found by Croaker.
Croaker also took the dog and its owner on their next mission, which was in the Barrowland. They were arrested there and had to break out of prison. During their escape through the Great Forest, Toadkiller Dog intercepted the chasing soldiers and killed over a hundred of them in the fight. During the retreat the dog clashed with a number of the new Taken, and successfully fought them off, as well as injuring Whisper.
Later, Toadkiller and Tracker returned to the Plain of Fear once again. There, the dog attacked the Lady, who was defenseless, but Father Tree intervened. Toadkiller Dog's true nature was revealed: it was a demon in service of the Dominator. Afterwards the demon returned to his master in the Barrowland, in order to guard him against enemies. In the Battle of the Barrowland, Toadkiller Dog fought ferociously for his master. He mustered a large force of tribesmen from the Great Forest and led them into a surprise melee against the Eternal Guard. During the combat, he lost one of his legs to the sorcery of the new Taken and was forced to retreat.
The Silver Spike
Toadkiller Dog by Matushyzny.
The Limper's enforcer
Toadkiller Dog returned to the former battlefield and spent many nights digging for something, which turned out to be a severed head. Witnessing this, the spike thieves delayed their attempt to steal the silver spike until it had left. Toadkiller Dog forced the forest shamans of nearby tribes to create an artificial body for the head. The head on the "amalgam" was actually the Limper, who was intent on seeking revenge against Lady and Croaker for his decapitation in the battle. He and the dog lead a small army, which at first consisted of 50 tribesmen, and they sacked what remained of the town in the Barrowland. They sacked all the cities on their way southward, with Toadkiller Dog frequently devouring deserters. Imperial soldiers also joined, fearing the demon's retribution if they refused. They besieged the Tower at Charm with 5,000 soldiers, but were unable to capture it. They pillaged Opal, crossed the Sea of Torments to attack Beryl, and rampaged south. Along they way, somewhere outside the boundary of the Empire, they captured a dormant fire-eater.
They were defeated by Darling's army of Plain of Fear monsters at the Temple of Travellers' Repose. Still having a use for the Limper, the demon hound traveled east to the country of Sweeps.[1] There, he created an alliance with family of wizards called the Nacred. Upholding his side of the deal, he massacred every single member of the Shaded family, the Nacred's rivals. In return, the twelve leaders of the Nacred traveled with him to the Temple, where they crafted a gorgeous new clay body for the Limper's horrid head. However, once being fully reconstructed, the Limper betrayed Toadkiller Dog and the twelve sorcerers by trapping them all in the Temple's subterranean chamber and running northward, to claim the silver spike for himself.
Return north
After forcing the survivors to dig a way out and feeding on those too weak to work, the monster alone escaped the ruins. The demon returned north to chase the Limper fueled by vengeance. Outside Beryl, which had been evacuated by the Empire, he saw a black rider throw a fiery spear eastward. He soon caught the Limper's trail, and began to follow him across the long easterly land route, passing through a wide variety of mostly desolate terrain, including, in order: swimming the River Bigotes and the Hyclades; traversing the Rani Poor desert and the lifeless landscapes of Barbara, Laba Larada, Khun, the Canyons of the Undead, and the ruins of the temple city of Marsha the Devastator; crossing the populated province of Karsus, the Plain of Dano-Patha, and the treacherous Mountains of Sinjian; and finally, through a dangerous crossing of the Straits of Angine, and onward into the northern continent. At various points during this trek, Toadkiller Dog was encouraged and guided from a distance by Imperial riders with flaming spears. And, he found remnants of ingenious mechanical traps which had been laid for the Limper.
Alliance with Charm and confrontation at Oar
At the Tower at Charm, the heirs of the Lady's Empire struck an alliance with Toadkiller Dog. He accompanied them as they rode out on lesser demon beasts toward Oar, where the silver spike was known to be hidden. The ancient demon was killed alongside his new allies in a ferocious melee while trying to take down the Limper. His remains became intermingled with the Limper's clay body, and were boiled away in a huge cauldron over many days in the final, successful effort to kill the mad sorcerer.
References
- ↑ The Silver Spike, chapter 44